Our Blog

How to Get Your First Freelance Client Online Using MobileFirst-Personal
Getting your first freelance client online feels impossible until it isn't. The difference between people who land that first remote job and those who don't usually comes down to one thing: a credible online presence. With the right website builder no coding setup, you can go from invisible to hireable in less than a day.
This is the step by step guide nobody gave you when you started.
Step-by-Step: Landing Your First Client With MobileFirst-Personal
Step 1: Define Your Niche Before You Build Anything
The most common mistake new freelancers make is building a "general" website. "I do design, writing, social media, and video editing" tells clients nothing. It signals that you're not sure what you're best at so why would they be sure either?
Pick the one service you're most confident in. Build your entire first site around that. You can always expand later once you've got proof of traction.
The narrower your niche, the faster you'll attract the right people.
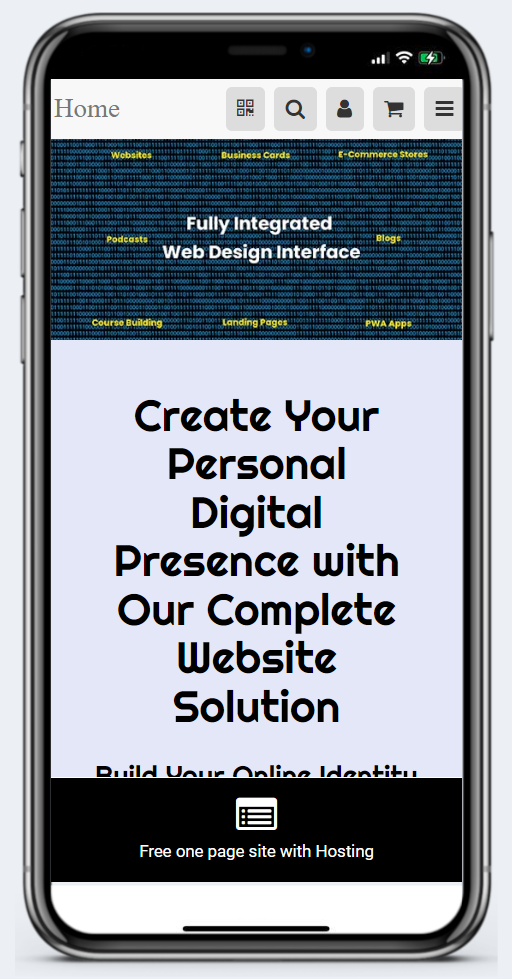
Step 2: Build Your Site With MobileFirst-Personal's Free Plan
Go to MobileFirst-Personal.com and sign up for the free Sandbox plan. No credit card required.
Use the drag-and-drop editor to build a one-page site with these four sections: who you are, what you do, one or two work samples, and a contact button. The AI assistant will help you write the copy if you're stuck just feed it your niche keyword and it generates a working draft.
Your first freelancer website doesn't need to be perfect. It needs to exist and look professional. That's it.
Step 3: Create a Digital Business Card Page
Once your main site is live, build a secondary one-page digital business card using MobileFirst-Personal's business card templates. This becomes the link you share everywhere in your email signature, on LinkedIn, in cold outreach messages.
It's shorter and faster to read than a full website. Name, niche, two work samples, one CTA. That's the formula.
The Connector Plan at $4/month unlocks dedicated business card templates and two additional site slots perfect for keeping your card separate from your main portfolio.
Step 4: Show Up Where Your Clients Already Are
Now that you have a professional link to share, it's time to use it. Post on LinkedIn with your niche and services. Join two or three relevant communities Facebook Groups, Slack workspaces, Discord servers where your ideal clients spend time.
Don't pitch immediately. Add value first. Answer questions, share insights, comment on relevant posts. Then, when the conversation is right, share your link naturally.
Consistency here matters more than volume. Three genuine interactions a day beats thirty spammy comments a week.
Step 5: Ask for a Testimonial the Moment You Deliver
Once you complete your first piece of work even if it was free or discounted ask for a short testimonial immediately. Not a week later. Right after delivery, when the excitement is fresh.
Add it to your website and digital business card the same day. Social proof at this stage accelerates the second client faster than any other tactic.
MobileFirst-Personal makes it easy to edit and update your site instantly no developer, no queue, no delay.
The First Client Is the Hardest Make It Easier
Every successful freelancer or remote job professional started from zero. What separated the ones who made it wasn't talent it was showing up with a professional presence before they felt ready.
MobileFirst-Personal removes every technical excuse. The platform is free to start, simple to use, and built specifically for people building their independent career online. Start your freelance journey at MobileFirst-Personal.com no credit card, no coding needed
To add this web app to your homescreen, click on the "Share" icon
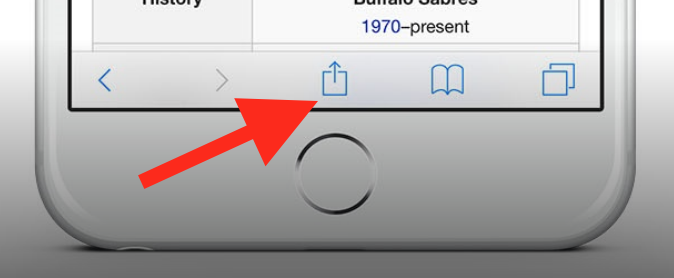
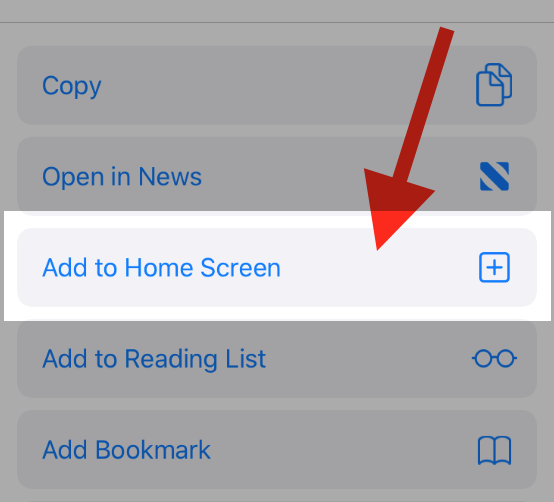
Then click on "Add to Home"
To add this web app to your homescreen, click on the "Share" icon
Then click on "Add to Home"
It looks like your browser doesn't natively support "Add To Homescreen", or you have disabled it (or maybe you have already added this web app to your applications?)
In any case, please check your browser options and information, thanks!
It looks like your browser doesn't natively support "Add To Homescreen", or you have disabled it (or maybe you have already added this web app to your applications?)
In any case, please check your browser options and information, thanks!